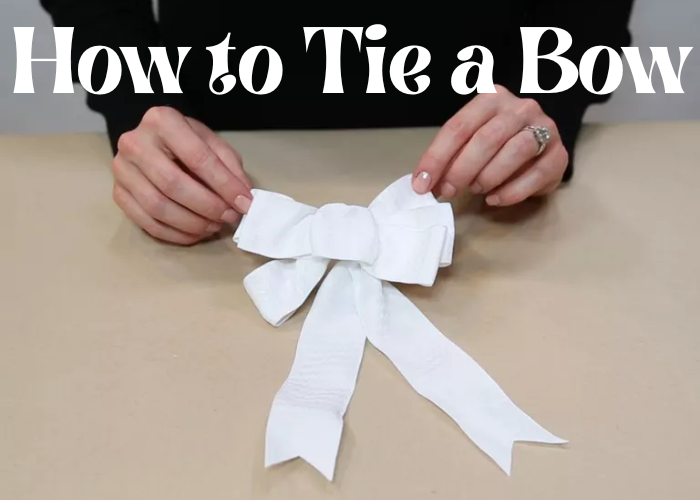
In the world of fashion, there are many things that go into making an outfit look just right. One of the most important components is the bow. A well-tied bow can add a touch of elegance and sophistication to any outfit, but it can be tricky to get it just right. If you’re not sure how to tie a bow, don’t worry – this blog post will teach you everything you need to know. Keep reading for tips on how to create the perfect bow every time.
What Type of Bow to Use
When it comes to tying a bow, there are many different options to choose from. The type of bow you use will depend on the material you’re working with, the project you’re working on, and your personal preference. For example, if you’re working with a delicate fabric, you might want to use a satin ribbon. If you’re looking for a more rustic look, then you might opt for a jute twine. And if you want something that’s easy to adjust and remove, then velcro might be the best option for you. Ultimately, the choice of which bow to use is up to you. But no matter which option you choose, following these simple steps will help you achieve a perfect result every time.
How to Tie a Basic Bow
Tying a basic bow is a simple process that can be mastered with a little practice. The key is to start with a long, wide strip of fabric and to tie the ends together securely. Once the ends are tied, you will need to make a loop with the fabric. To do this, simply hold one end of the fabric in each hand and twist it until it forms a loop. Once you have made the loop, cross the two ends in the middle and tie them together. Then, pull on the loops until the bow is tight and adjust the size of the loops as needed. With a little practice, you will be able to tie a perfect bow every time.
How to Make a Looped Bow
Making a looped bow is a simple way to add a touch of elegance to any gift, and it only takes a few minutes to do. Start by cutting a length of ribbon that is twice as long as you want the finished bow to be. Then, make a loop in the center of the ribbon and hold it in place with your thumb and forefinger. Next, take the two ends of the ribbon and make loops on either side of the center loop. Finally, cross the two ends in the back and pull them through the loop in the center. Pull tight and trim the ends as desired. Now you have a beautiful looped bow that is perfect for any occasion.
How to Make a Waterfall Bow
Making a waterfall bow is a great way to add a touch of elegance to any gift or package. While it may look complicated, this type of bow is actually quite easy to make. With just a few simple steps, you can create a beautiful bow that will make your gifts stand out.
To make a waterfall bow, start byCutting a length of ribbon that is twice the width of the item you are wrapping. Fold the ribbon in half and make a small loop at the center point. Next, take the two tails of the ribbon and make loops on either side of the center loop. Make sure that the loops are facing in opposite directions. Then, take the left loop and make another loop underneath it. To finish the bow, take the right loop and make another loop underneath it. Tug on the loops to tighten them and fluff out the bow to give it a fuller look. Waterfall bows are a great way to dress up any gift, and with just a few simple steps, you can make one yourself!
How to Make a Curly Bow
Making a curly bow is easy and only takes a few steps. First, make a loop with the ribbon and then make a second loop on top of the first one. Next, take the end of the ribbon and make a loop around both loops. Finally, pull the loops tight and you’re done! You can use this simple technique to make all sorts of bows, from small and delicate to big and bold. So get creative and have fun!
How to Make a Ruffle Bow
Making a ruffle bow is a great way to add a touch of flair to any outfit. The key to making a perfect ruffle bow is to make sure that the loops are even and the bow is tightly tied. To make a ruffle bow, start by tying a basic knot in the middle of a piece of ribbon. Then, make two looped bows and tie them together in the center. Next, take the tails of the ribbon and make small loops around the center of the bow. Finally, fluff out the loops and trim the ends of the ribbon for a finishing touch. With a little practice, you’ll be able to make a ruffle bow that’s perfect for any occasion.
Conclusion:
So there you have it! Our step-by-step guide on how to tie a bow. We hope this was helpful and that you’re now feeling confident in your ability to add the perfect finishing touch to all of your gift wrapping endeavors. Happy tying!


