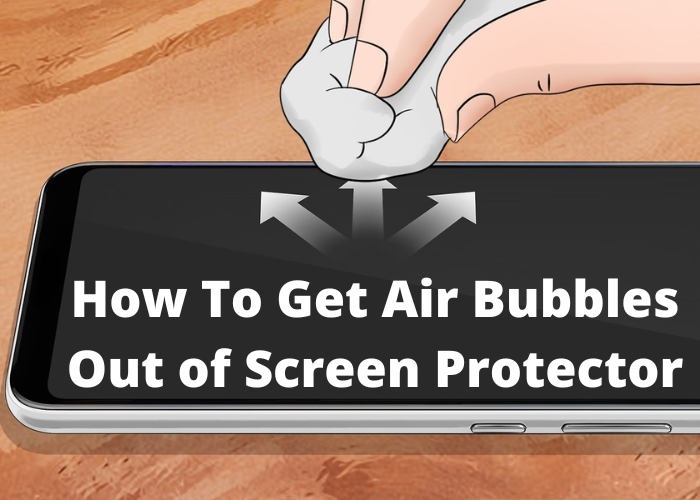
If you’re like me, you probably spent a good chunk of your hard-earned money on a new smartphone. And if you’re like me, you also want to protect that investment with a screen protector. But if you’re like me, you’ve also encountered the frustration of getting air bubbles trapped under the protector. Never fear, though! Follow these simple steps, and you’ll be bubble-free in no time.
Clean your screen and the protector with a microfiber cloth
One of the most annoying things about having a screen protector is getting air bubbles trapped under it. It’s even worse when those air bubbles are in the wrong spot so that you can see them every time you look at your screen. But don’t worry, there’s an easy way to get rid of them. Just grab a clean microfiber cloth and gently rub the bubble until it pops. Then, smooth out the area around the drop to get rid of any wrinkles. Once you’ve gotten rid of all the bubbles, enjoy your clean, clear screen!
Peel off the protector’s backing and place it on your screen
You’ve just bought a new screen protector for your phone, and you’re eager to get it installed. But before you can start using it, you need to make sure that it’s properly applied. The first step is to remove the backing from the screen protector. Once the backing is removed, you can then place the screen protector on your phone screen. Be careful to align it correctly, as you don’t want any air bubbles to get trapped underneath. Once it’s in place, you can use a soft cloth to gently press out any air bubbles that may have been trapped during installation. With a little care and patience, you can get your new screen protector installed quickly and easily.
Use a credit card or something similar to smooth out the protector, making sure there are no air bubbles
A credit card can be a helpful tool for getting air bubbles out of a screen protector. First, make sure that the screen protector is properly aligned on the device. Then, use the credit card to press down smoothly on the protector, working from the center outwards. Be careful not to press too hard, as this could damage the screen protector or the device itself. With a little care and patience, it is possible to get a perfectly smooth and bubble-free screen protector.
If there are any bubbles left, use a needle to prick them and push the air out
One of the most annoying things about applying a new screen protector is the inevitable air bubbles that get trapped underneath. Fortunately, there is an easy way to get rid of them. First, try pressing on the bubble with your finger to see if you can push the air out. If that doesn’t work, take a needle and gently prick the bubble. Then, use the needle to push the air out from the hole. Once the bubble is gone, smooth over the area with your finger to make sure there are no other bubbles left. By following these simple steps, you can get rid of air bubbles quickly and easily.
Let the protector dry for about 30 minutes before using your phone
Before you can get the full benefit of your new screen protector, you need to make sure that it’s properly applied. After aligning the protector with your device, gently press it down to get rid of any air bubbles. Once the bubbles are gone, let the protector dry for about 30 minutes before using your phone. This will give the adhesive time to set, ensuring that the protector stays in place. In addition, it’s important to avoid using any cleaning solutions on your screen protector, as they can break down the adhesive and cause it to peel away from your phone. With a little care, your screen protector will stay firmly in place and keep your device looking like new.
Conclusion:
So, there you have it. How to get air bubbles out of screen protectors. We hope that this post was helpful and informative. If you have any questions or comments, please feel free to share them with us below. And don’t forget to check back often for more tips, tricks, and tutorials on all things tech-related!


